I admit I love tea, but the obsession goes deep, like very deep.
I am Indian, so tea is a huge part of our culture. I grew up drinking tea without sugar or milk, my mom was pretty strict about that. The only exception was Mom’s specialty, chai tea. I raised my family drinking tea the same way. I guess we all turn into our mothers.
I believe that tea should be the first thing you drink in the morning and the last thing you drink at night. Make sense? Some varieties of Black Loose Tea wakes me up, yet some varieties of Green and Herbal Teas Loose Teas help me sleep.
The obsession started with all sorts of bagged tea and different brands. I soon leveled up and learned the joys of loose tea. I love the look, the feel, the aroma, and choosing a tea for my mood. There is absolutely nothing like taking the time to steep a cup of loose tea. I feel so incredibly classy and sophisticated.
Very soon, I had multiple bags of loose tea in my pantry, kitchen drawers, in boxes, bottles, and even tins. Just everywhere!
Some were labeled. Some were not. I became overwhelmed.
I decided I need to take control and put my organization skills to the test.
There are a few steps that I take when taking on an organizing project. It was no different when it came to organizing my loose tea stash.
Step 1: Pick A Location
I needed to pick a home where all my tea would be stored. I needed to find a place in my kitchen that was convenient and spacious (I have a lot of tea).
I also envision what I want the space to look like. Yes, I want my tea stash to not only be functional but also look beautiful and organized.
I am very fortunate to have lots of cabinet space. I chose a narrow cabinet space with four shelves. I did mention I have a lot of tea, but did I mention the accessories? Yes, I have accessories too.
I measured the space and looked up ideas on how to store tea. Not happy with that I found, I decided to use glass jars and labels. I like to visually see my loose tea stash. It helps me make a decision.
I am always looking for ways to organize on a budget.
I took account of all of the tea-related items I had. Loose tea, accessories, travel mugs, backup loose tea, bagged tea. I did say that tea was a big deal to me, right?
Then I measured my space and envisioned the layout. Then I headed out to my favorite budget organizational store.
Dollar Tree, my favorite place for glass containers on a budget.
Step 2: Gather Up The Tools
Here are the items I used to organize my loose tea and accessories:
Glass Jars (purchased from Dollar Tree)
Labels (Avery Labels on hand)
Bronze Top Jars (Dollar Tree)
White Boxes (Ikea, on hand)
I always have a tape measure with me and I was able to find the jars above that would stack easily into the cabinet space. I also scored some glass jars with bronze lids to store brown sugar and honey. Score!
After removing the labels. I washed all of the glass jars in hot soapy water and left them to dry.
Tip: Dollar Tree carries small bottles of Goo Gone. I use Goo Gone to help me remove stubborn labels from jars. It’s easy to use, a little oily so you have to wash the glass jar again after. But makes the job easier.
Step 3: Create and Print Out Labels
I took out all of the tea I wanted to organize and laid them out on the table. I also did a little decluttering and got rid of some old tea. This is the perfect time to get rid of old teas and varieties you do not enjoy. I love it when decluttering and organizing go hand in hand!
Make a list of all of the tea labels you will need. I decided to just take pictures of it all, easy peasy.
I used some labels I had on hand. I also have a labeling obsession, that is a post for another day.
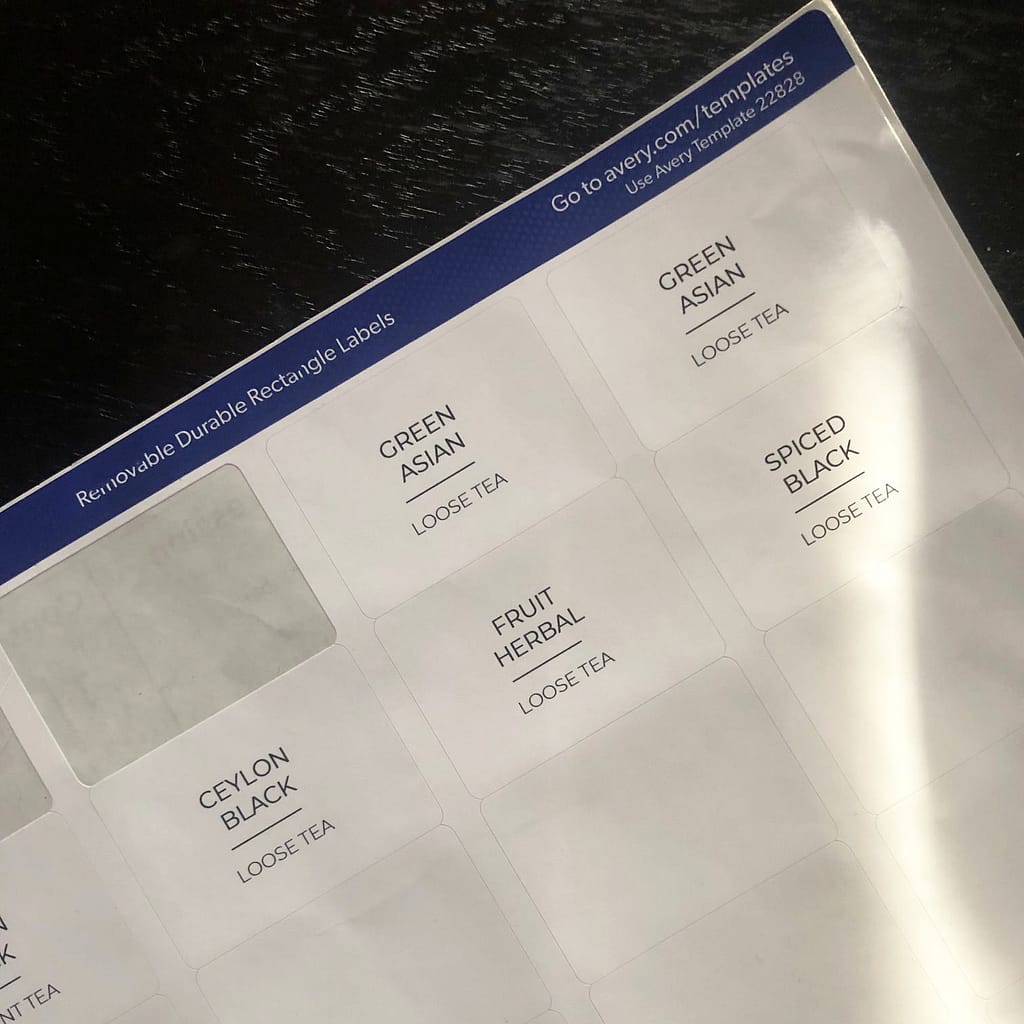
I used the Avery Rectangular Labels Model 22828. You can find them on Amazon or any Office Supply store.
I used my word application on my desktop computer and set up a blank label template. I like minimal fonts and layouts, but you can make this as fun as you want. Add pictures, change font styles. Make it your own.
I have added my template for anyone to use, completely free. Just click the link below, edit the names of the teas that you have and just print.
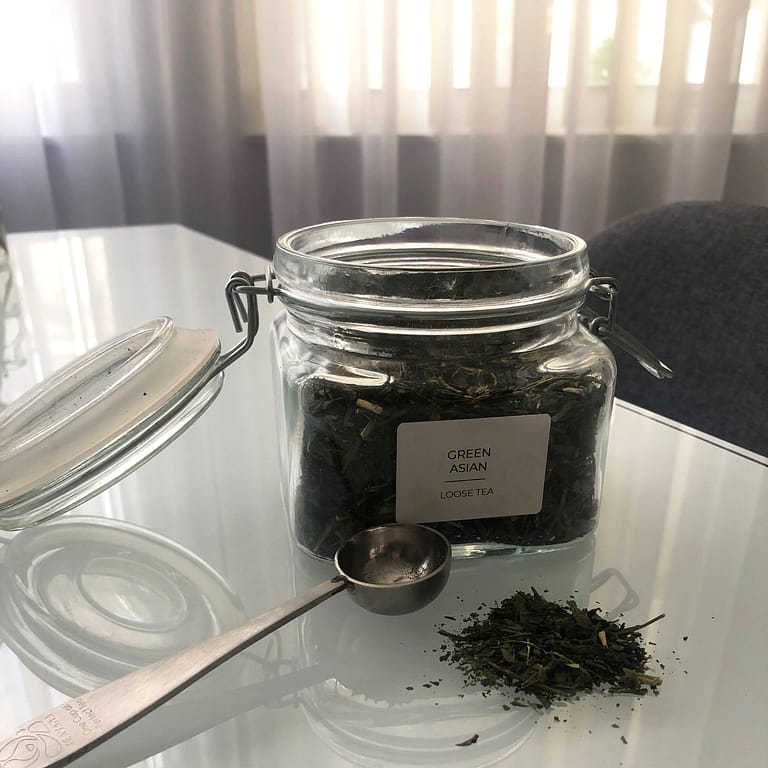
Step 4: Add Labels and Loose Tea to Jars
After the jars were dry, I applied the labels to the front of the jars. Then I added my loose tea into each respective jar.
You can choose to organize the jars alphabetically, but I tend to reach for certain types of loose tea during certain seasons. I rotate my favorites down to a lower shelf and switch them back out.
Now just put all your new jars into your cabinet or tea space.
Step 5: Admire your work!
Then stand back and admire your handiwork.
I usually look at my newly organized spaces a few times, just to simply look at how beautiful it is. It was hard work after all.
Here is what my tea cabinet looks like.

Here is a another of the shelf up close.

I did mention I have a tea obsession.
And now, I am craving a warm cup of, you guessed it, loose tea.
XO, Nanda
I love it! I’m always looking for ways to organize my crafting supplies. I never thought to look at dollar tree for jars. Great tip, thank you!!!
Glad this helped – Happy Organizing!
This is awesome . Now I have to go organize my tea cabinet!!
Yay for organized tea cabinet across the land! Good Luck!